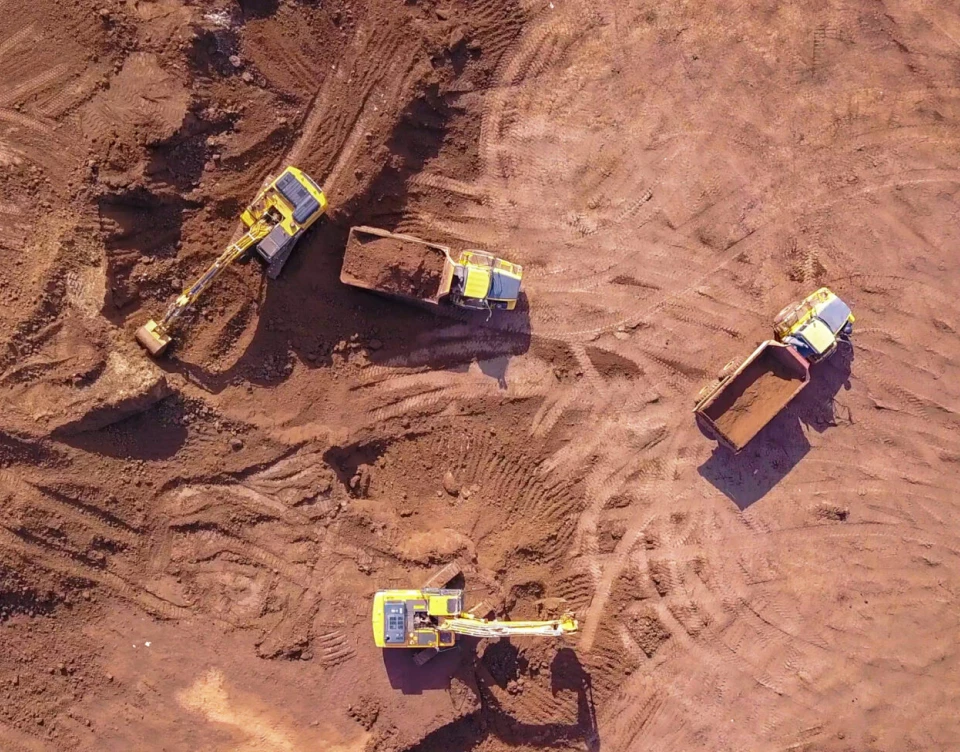
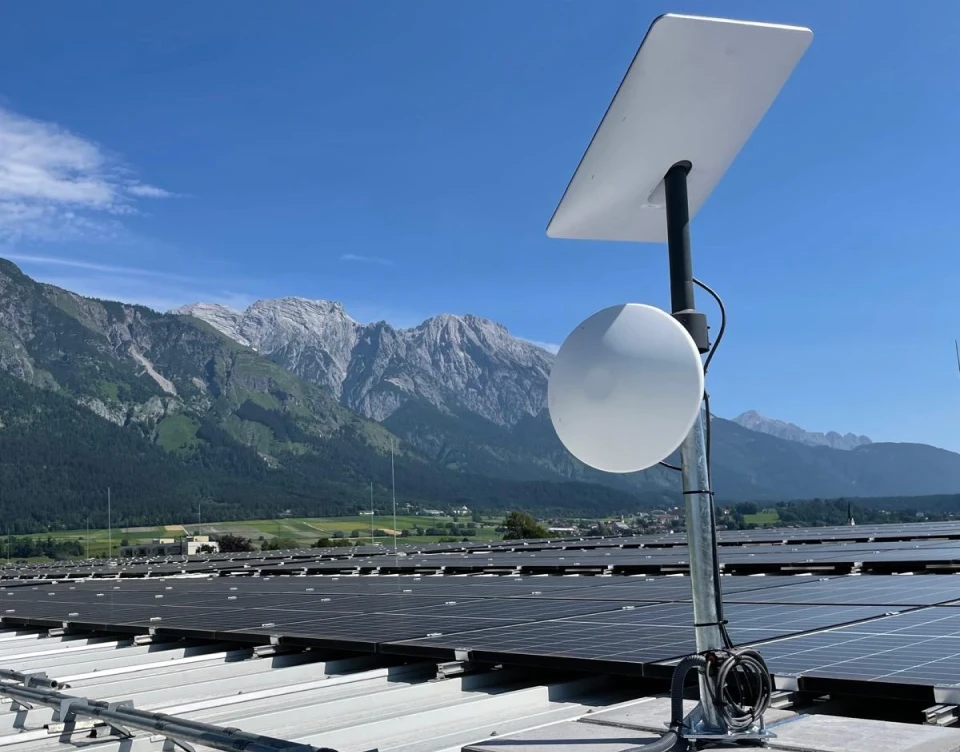
Vehicles used in earthmoving, pipeline construction, and cable installation rely heavily on connectivity for:
- Real-time data transfer: Access and share blueprints, 3D terrain models, and project updates without delays.
- Precision positioning: Integrate Starlink with GPS systems for accurate machine control and layout planning.
- Communication in remote areas: Maintain seamless contact with project managers and teams on-site or at headquarters.
Starlink’s Flat High-Performance Dish is ideal for these scenarios, offering:
- High-speed internet (30-180 Kms), even on the move.
- Global satellite coverage for operations in remote and off-grid locations.
- Durability to withstand harsh weather and challenging conditions.
Key Considerations for Installation on Construction Vehicles
Construction vehicles have unique requirements for installing a Starlink system:
- Durability: The dish must withstand vibrations, dust, and mud encountered in heavy-duty work environments.
- Unobstructed placement: Install the dish where it has a clear view of the sky to maintain connectivity.
- Reliable power supply: Construction vehicles should be equipped with a stable power source capable of supporting the dish’s power needs (12-48V, averaging 100-150 watts).
- Compatibility with equipment: Ensure the Starlink system integrates seamlessly with GPS and machine control systems without causing interference.
Step-by-Step Installation Guide
1. Preparation
- Obtain a Flat High-Performance Dish, designed for use on moving vehicles in demanding conditions.
- Select a location on the vehicle with minimal obstruction, such as the cab roof or a custom mounting point on larger machines like excavators or trenchers.
- Gather tools, including a durable mounting kit, weatherproof cable seals, and vibration-resistant fasteners.
2. Mounting the Dish
- Position the Dish: Place the dish on a flat, stable surface with maximum sky visibility. Avoid areas obstructed by booms, cranes, or tools.
- Secure the Mounting: Use a heavy-duty bracket or custom solution designed for high-vibration environments. Ensure the dish is tightly secured to prevent movement during operation.
3. Routing Cables and Power Connection
- Cable Entry: Route cables through a pre-drilled hole in the vehicle (if necessary) and seal the entry point with weatherproof material to prevent dust and moisture ingress.
- Power Setup: Connect the dish to a stable power source, such as the vehicle’s battery system or an auxiliary power unit. Use an inverter if required to match the dish’s power needs.
4. Configuring and Testing the System
- Activate the Dish: Use the Starlink app to register the dish and activate a subscription tailored for mobile use (e.g., Starlink Roam).
- Run Connectivity Tests: Test the system’s connection stability while the vehicle is stationary and in motion on rough terrain.
- System Integration: Verify that the Starlink system works seamlessly with GPS and machine control software.
5. Securing and Finalizing the Installation
- Inspect the Setup: Ensure all components are securely mounted and protected from dust, water, and vibrations.
- Organize Cables: Use cable ties to keep cables neat and safe from mechanical wear.
- Regular Maintenance: Inspect the dish and connections regularly to ensure optimal performance, especially after prolonged use in harsh conditions.
Applications for Starlink in Precision Work
Starlink provides significant advantages for construction and excavation operations:
- Machine Guidance: Enables integration with GPS systems for precise excavation, trenching, and pipeline installation.
- Data Sharing: Teams can upload and download real-time data, including digital blueprints and project updates, directly from the field.
- Remote Monitoring: Site supervisors can monitor vehicle performance and project progress from remote locations.
- Emergency Communication: In case of on-site incidents, Starlink ensures instant access to communication networks.
Compliance and Safety Considerations
When installing a Starlink system on construction vehicles, adhere to the following regulations and guidelines:
- Height Restrictions: Ensure the dish does not exceed height limits for vehicles, particularly when operating on public roads.
- Electrical Standards: Follow local safety guidelines for power connections and cable insulation.
- Signal Interference: Verify that the installation does not interfere with other electronic systems on the vehicle.
Stay Connected, Stay Productive
Installing Starlink on construction vehicles is a game-changer for precision work in earthmoving, pipeline construction, and cable installation. By following this guide, you can equip your vehicles with reliable internet connectivity to enhance productivity, accuracy, and safety on any project site—no matter how remote.
Need help selecting the right equipment or arranging a professional installation? Contact me, and we’ll get you started!

Bernie Stanneveld
Related blog posts
What is Starlink and How Does It Benefit Your Business?
BroadbandEU and Advanced Tracking to Showcase Revolutionary Maritime Solution at METSTRADE 2024
Don’t let slow internet speeds hold your
business back. Contact us today to experience
seamless and fast connectivity.


